How to Create a MemoryMap (Photo Map)!
Photo maps have been around for a while now. From century old cartographers adding sightings of lochness monsters at seas to Google Earth visually mapping out major parts of the world, photo maps appear everywhere you go. But what about your photo map? What about the individual memories that you create for you and your social circles for private viewing? A public map could never capture your memories. Only you can.
In this article, we'll be showing you how you can create your own Photo Map or "MemoryMap" for your personal usage and anybody in your social circle for private viewing. A MemoryMap is special in a way that you can record your memories at the geographical location that they occurred at. With the MemoryMaps app, you then have the power to decide who you want to allow to see your photos and memories. Which memories are private? Public? Friends only? You have the power to decide.
Getting Started
The first thing you will need to do to create a MemoryMap is to download the app. As of February 1st, 2022, MemoryMaps is only available on the Apple App Store for iOS only. We are working on an android app so that more people can join in on making memories, but this may take some time. Please check our main website at https://memorymaps.app to see if the android version is currently available!
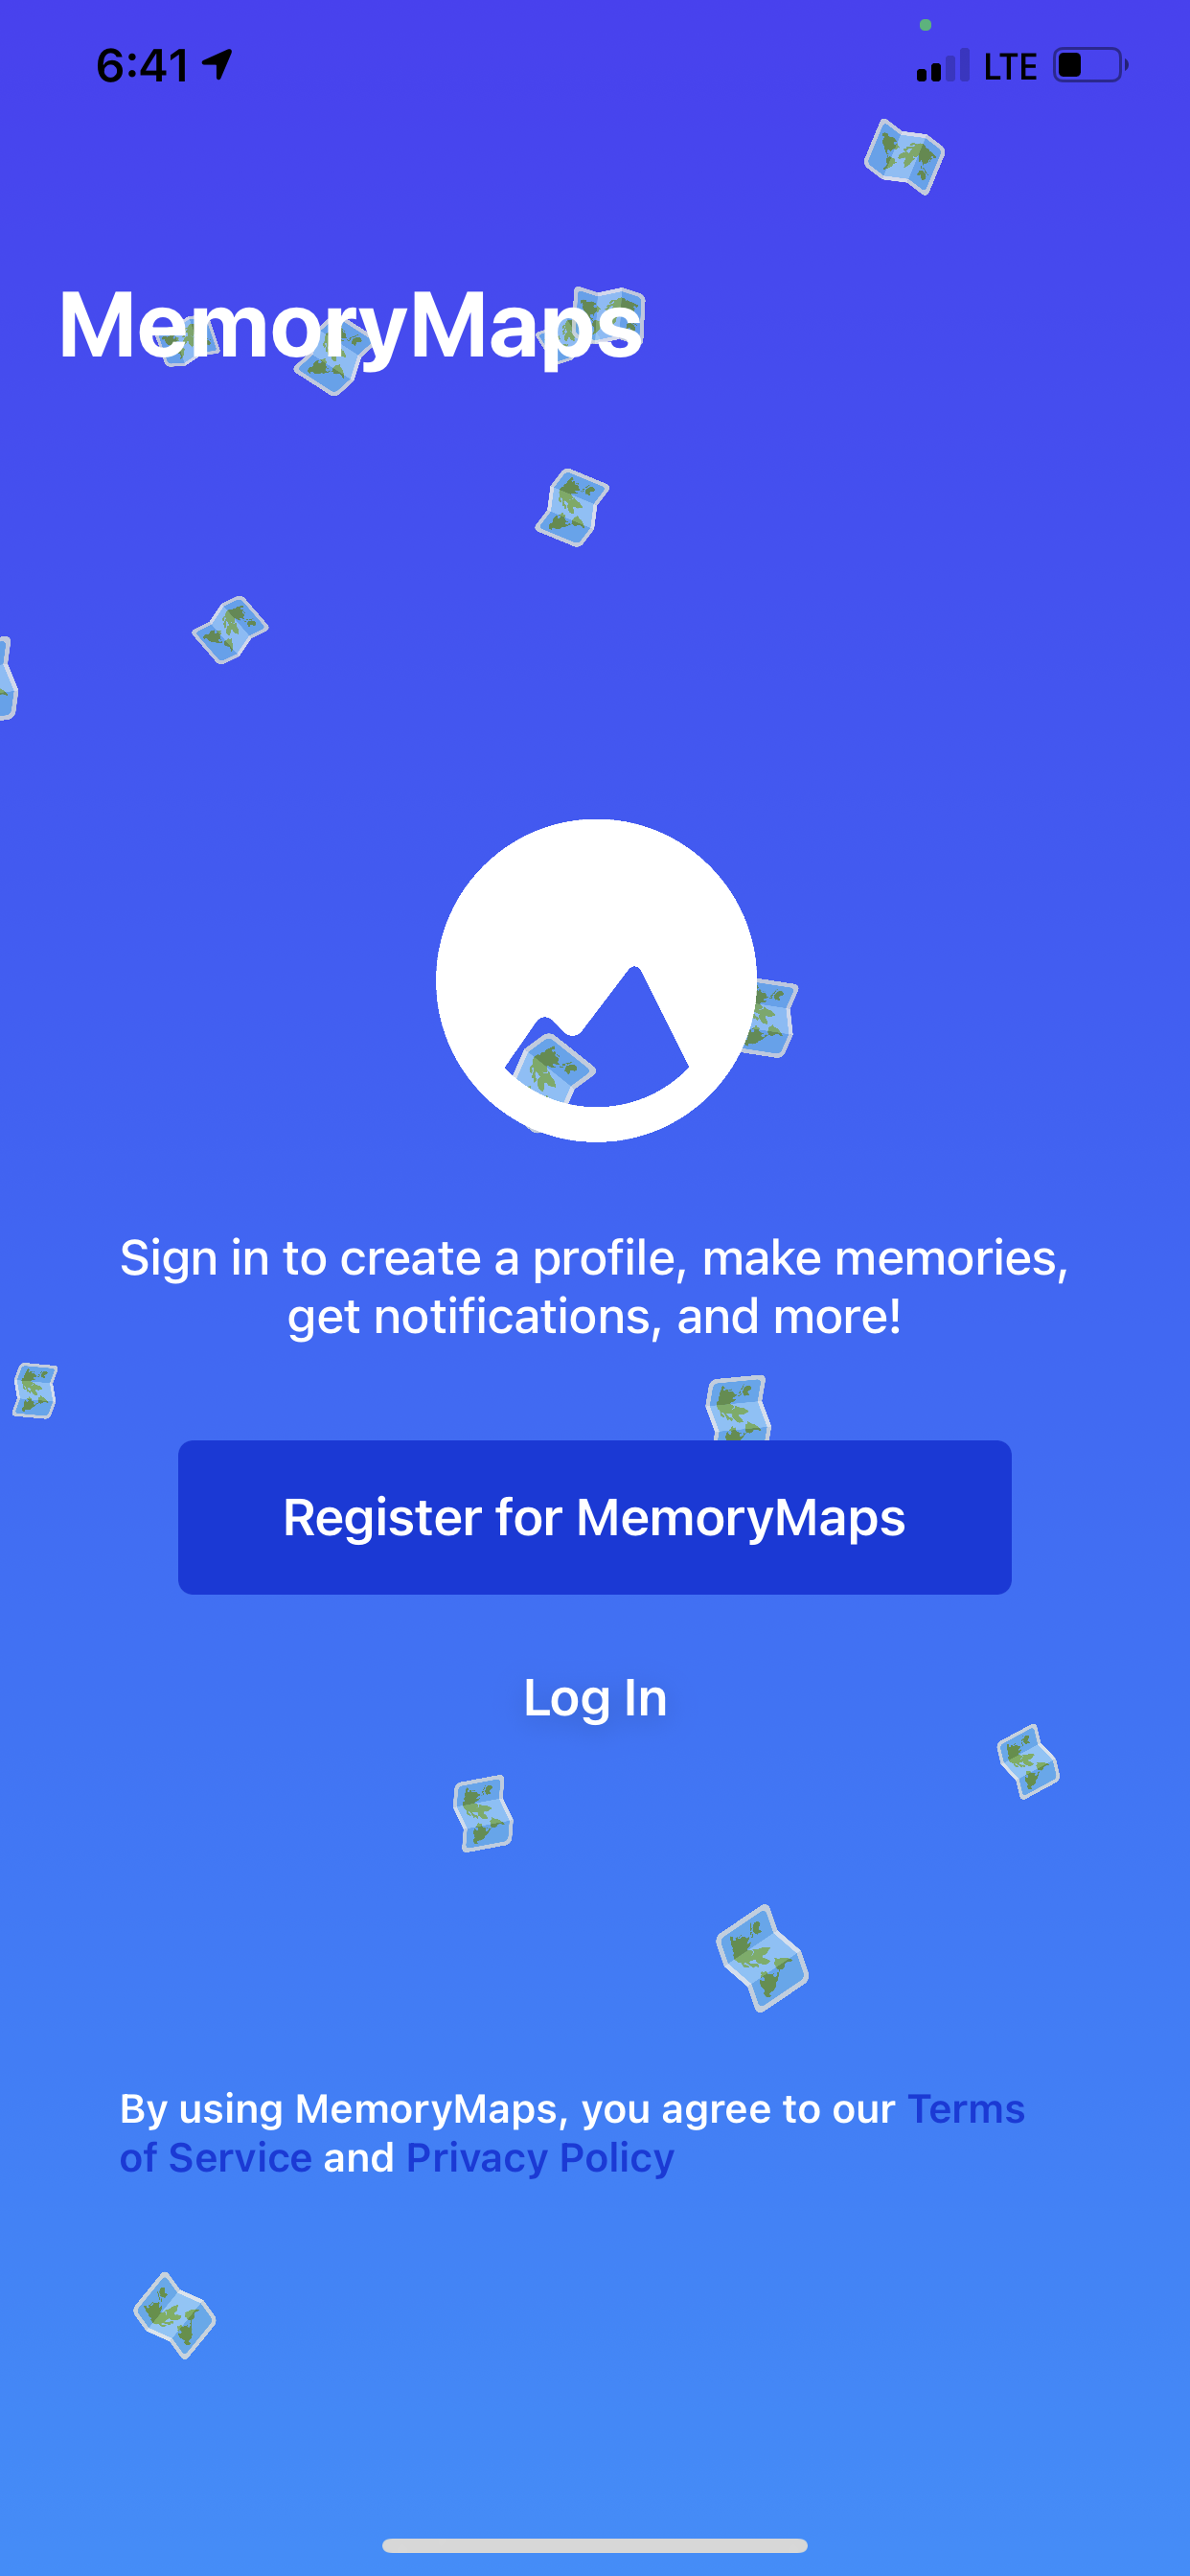
Once you have the app downloaded, you will be brought to the home page of the application as shown in the image below:

After you read through the Terms of Service and Privacy Policy, tap of "Register for MemoryMaps" to begin the registration process. Fill in your email, username, and password that you would like to use for the application. We would like to warn that you cannot currently change the email you use for MemoryMaps, so be sure that you will always have access to it in case you forget your login credentials. Once you complete the process, tap on "Continue" to create your MemoryMaps account!
If you run into any issues creating an account, you can always contact support at hello@memorymaps.app for assistance.
Creating a Memory
Once you have successfully created your MemoryMaps account, get yourself familiar with the interface. You won't have much content to look at initially, but as you build your map, you can start creating unique elements for your map. Navigate to the third tab (the middle tab) to start creating your memory. Position your camera to where you would like to take a picture of your new memory. Once you get the picture you would like in frame, press the shutter bottom near the bottom of the screen. Confirm that the picture looks good, and press the blue "Upload" button near the bottom right of the screen!
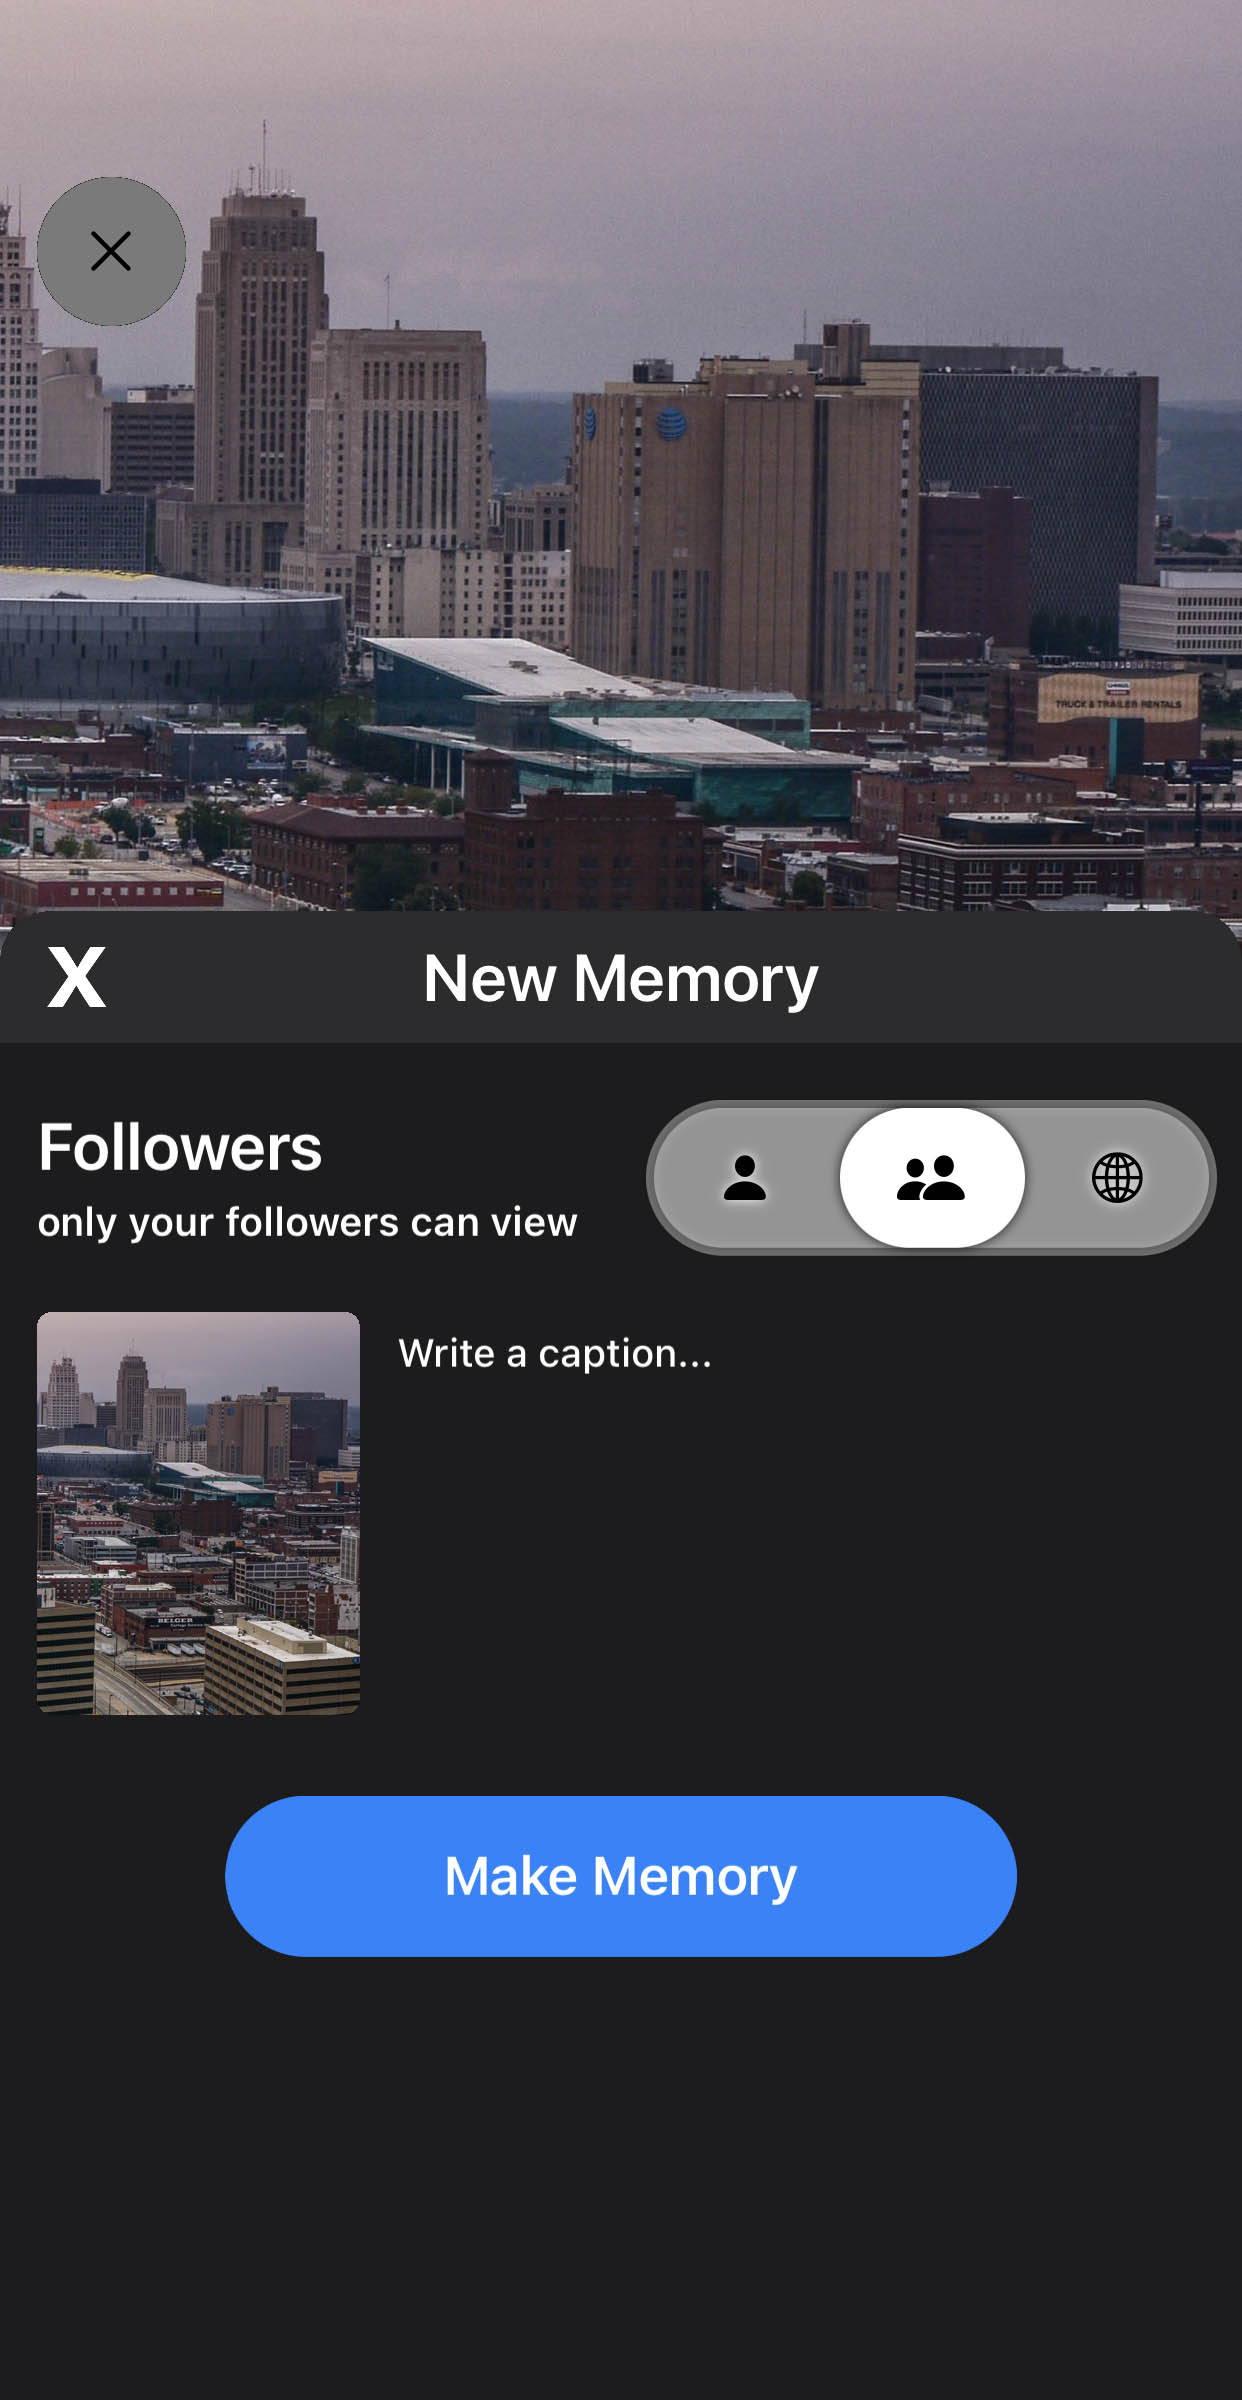
MemoryMaps should now prepare your new memory for uploading! The app will bring you to the screen below:

In this screen, you can select your privacy settings and your caption. You can make your memory private (only you can see it), followers only (only your followers can see it), or public (anybody can view your memory). After selecting your privacy setting, enter a caption that you would like to accompany your memory. If you don't enter a caption, your caption will automatically become the date of the memory.
Once you are satisfied with your memory settings, select "Make Memory" to log your memory onto your MemoryMap! Following the upload, you can navigate to the second tab (the Map Tab) to see your memory logged. If you chose to allow your followers or the public to view it, it will now appear on your map when they look at it!
If you have any issues in logging your memory, be sure to contact hello@memorymaps.app for assistance!

